Story
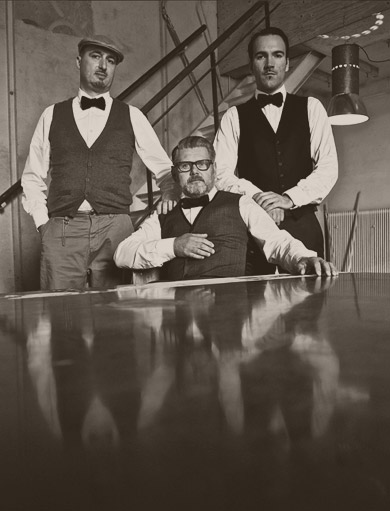
Barbers
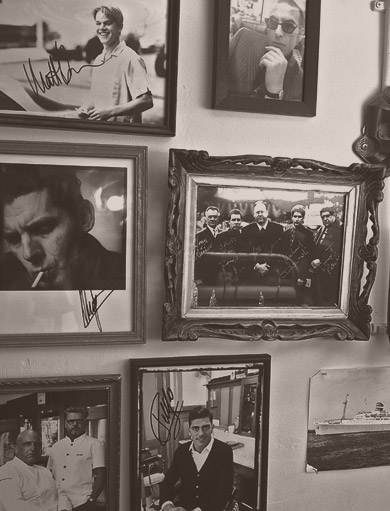
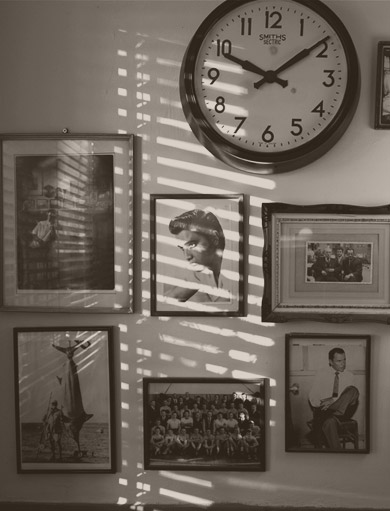
Photos
Part
1
Part 2